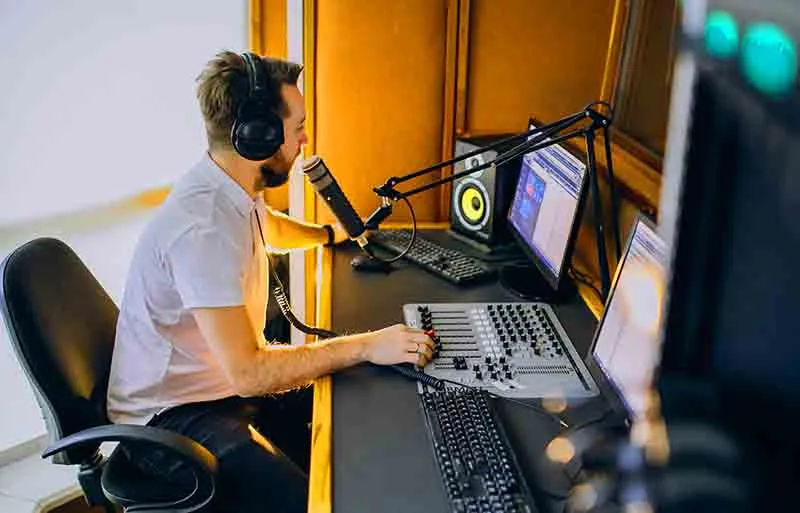
Image Source: Google
Creating a professional voice recording studio is essential for anyone looking to produce high-quality audio content. Whether you're a voice actor, podcaster, musician, or content creator, having a well-equipped and properly set up studio can make a significant difference in the quality of your recordings. In this ultimate guide, we will take you through everything you need to know to set up a professional voice recording studio, from selecting the right equipment to optimizing acoustics.
Equipment Needed for a Professional Voice Recording Studio
Microphone
- Choose a high-quality condenser microphone for clear and detailed audio capture.
- Consider factors such as frequency response, polar pattern, and sensitivity when selecting a microphone.
- Popular microphone options for voice recording studios include the Neumann TLM 102, Shure SM7B, and Audio-Technica AT2020.
Audio Interface
- An audio interface is used to connect your microphone to your computer and convert analog signals to digital.
- Look for an audio interface with low latency, high-quality preamps, and compatibility with your recording software.
- Common choices for audio interfaces include the Focusrite Scarlett 2i2, PreSonus AudioBox, and Universal Audio Apollo Twin.
Headphones
- Invest in a pair of studio headphones for accurate monitoring during recording and mixing.
- Choose headphones with a flat frequency response for neutral sound reproduction.
- Recommended studio headphones include the Sony MDR-7506, Audio-Technica ATH-M50x, and Beyerdynamic DT 770 Pro.
Pop Filter and Shock Mount
- A pop filter helps reduce plosive sounds (p, t, k) during vocal recordings.
- A shock mount suspends the microphone to minimize vibrations and handling noise.
- Both accessories are essential for achieving clean and professional-sounding recordings.
Setting Up Your Voice Recording Studio
Room Selection
- Choose a quiet and well-insulated room with minimal background noise for your studio.
- Avoid rooms with hard surfaces and parallel walls to reduce reflections and reverberations.
- If possible, select a room with dimensions that are not multiples of each other to prevent standing waves.
Acoustic Treatment
- Improve the acoustics of your studio by adding acoustic panels, bass traps, and diffusers to absorb and scatter sound waves.
- Strategically place acoustic treatment to target reflection points and control reverberation in the room.
- Create a balance between absorption and diffusion to achieve a controlled and natural-sounding environment.
Isolation and Soundproofing
- Minimize external noise by soundproofing your studio with materials like acoustic foam, mass-loaded vinyl, and weatherstripping.
- Ensure proper isolation between the walls, floors, and doors to prevent sound leakage in and out of the room.
- Consider using a vocal booth or portable isolation shield for additional sound isolation during recordings.
Optimizing Your Recording Environment
Microphone Placement
- Position the microphone at a proper distance and angle to achieve the desired sound quality.
- Experiment with microphone placement to find the optimal position for your voice and recording style.
- Avoid placing the microphone too close to reflective surfaces or walls to prevent unwanted reflections.
Monitor Setup
- Place your studio monitors at ear level and angle them towards your listening position for accurate sound reproduction.
- Use monitor isolation pads to decouple the speakers from the surface they are placed on and reduce vibrations.
- Calibrate your monitors using reference tracks to ensure a balanced frequency response and accurate audio playback.
Recording Techniques
- Practice proper microphone technique, such as maintaining consistent distance and angle while speaking or singing.
- Experiment with microphone polar patterns to capture different nuances and characteristics of your voice.
- Utilize pop filters and windshields to minimize unwanted noise and improve vocal clarity during recordings.