Installing wood fence panels can add beauty, privacy, and security to your property. Whether you are a seasoned DIY enthusiast or a beginner looking to take on a new project, mastering the art of wood fence panel installation is essential for a successful outcome. This comprehensive guide will take you through the process from start to finish, providing you with tips and tricks to help you achieve a professional-looking fence that will stand the test of time.
Planning and Preparation
1. Determine Your Needs
- Consider the purpose of the fence (privacy, security, aesthetics).
- Measure the area where the fence will be installed.
- Check local regulations and obtain any necessary permits.
2. Choose the Right Materials
- Select high-quality wood panels that are durable and resistant to rot and decay.
- Pick out pressure-treated wood to ensure longevity.
- Gather all necessary tools and supplies, including posts, rails, panels, nails, and post hole digger.
Installation Process
1. Setting the Posts
- Mark the locations for the posts using stakes and string.
- Dig post holes with a post hole digger to the appropriate depth and width.
- Place the posts in the holes, making sure they are level and plumb.
- Fill the holes with concrete to secure the posts in place.
2. Attaching the Rails
- Measure and cut the rails to fit between the posts.
- Attach the rails to the posts using screws or nails, ensuring they are level.
- Space the rails evenly to provide support for the wood panels.
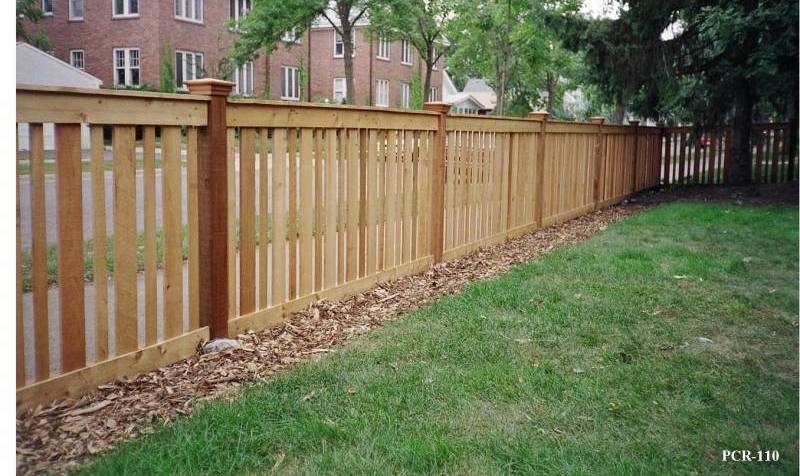
3. Installing the Panels
- Measure the distance between the posts to determine the size of the panels needed.
- Place the panels between the rails and attach them with nails or screws.
- Check that the panels are level and adjust as needed.
Finishing Touches
1. Staining or Painting
- Protect the wood from the elements by staining or painting the fence.
- Choose a high-quality stain or paint that complements your property.
- Apply the stain or paint evenly with a brush or sprayer and allow it to dry completely.
2. Sealing the Fence
- Extend the life of your wood fence by sealing it with a waterproof sealant.
- Apply the sealant according to the manufacturer's instructions, ensuring full coverage.
- Repeat the sealing process every few years to maintain the fence's integrity.
Maintenance Tips
1. Regular Inspections
- Check the fence periodically for any signs of damage, such as rot or loose panels.
- Make repairs as needed to prevent further damage and maintain the fence's structural integrity.
2. Cleaning
- Remove dirt, debris, and mold from the fence by scrubbing it with a mixture of water and mild soap.
- Rinse the fence thoroughly with clean water and allow it to dry completely.
3. Repairs
- Replace any damaged or rotting panels to prevent the damage from spreading.
- Secure loose rails or posts with additional screws or nails.
By following these steps and tips, you can master the art of wood fence panels installation and enjoy a beautiful and functional fence that will enhance your property for years to come.